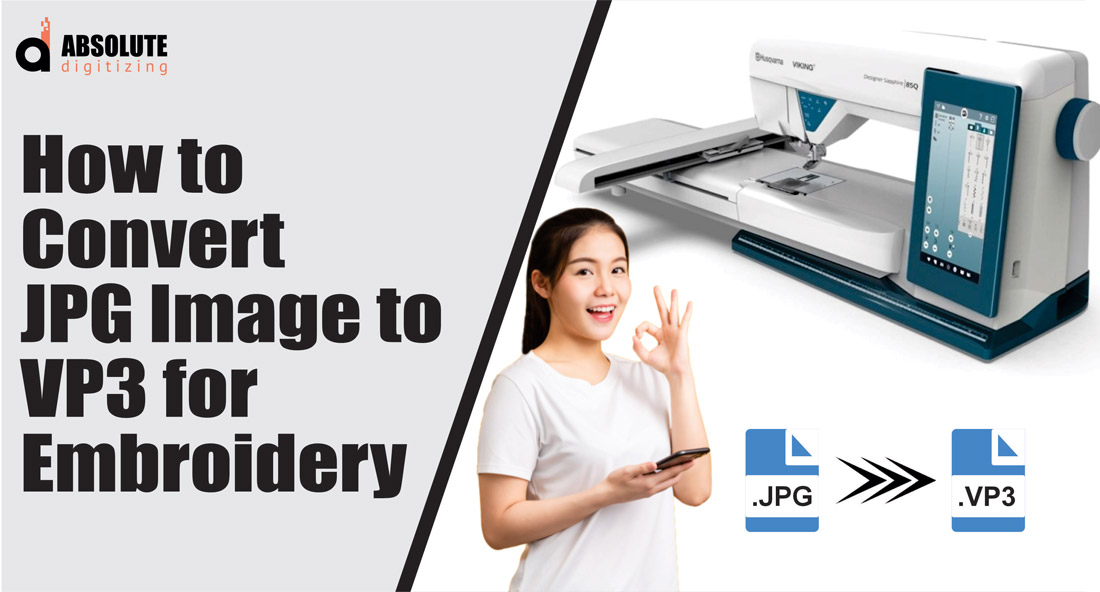
You’ve got a perfect JPG. It might be a detailed logo, a family photo, or a custom graphic. Your goal is to embroider it using your Viking or Husqvarna machine, which means you need it in the specific VP3 file format. This isn’t just about changing a file extension. It’s a translation process from a grid of pixels to a set of stitch commands, and the quality of that translation is everything. A poor conversion leads to a blurry, puckered mess, while a high-quality one gives you a crisp, professional result. Let’s explore the best methods to convert JPG image to VP3 format while preserving every bit of detail and integrity.
Understanding the Mission: It’s Digitizing, Not Converting
First, let’s clear up a key point. You’re not simply “converting” in the way you might change a PNG to a JPG. A JPG is a static picture made of pixels. A VP3 file is a dynamic set of instructions telling your embroidery machine exactly where to place each stitch, what color thread to use, and in what order. The process is called digitizing, and it’s a skilled craft. The goal isn’t to make the VP3 file look like the JPG on screen; it’s to engineer a stitch path that will create the image beautifully in thread on fabric. This mindset—focusing on the stitched outcome, not the digital preview—is your first step toward maintaining quality.
Method 1: Professional Digitizing Software (The Gold Standard)
This method offers the most control and delivers the highest quality VP3 files. It involves using dedicated embroidery digitizing software like Wilcom Hatch, Embrilliance, or Pulse. These are the tools professional digitizers use.
The process starts with importing your high-quality JPG as a background template. You then manually trace the important outlines using the software’s drawing tools. This isn’t an auto-trace; it’s a careful, precise recreation of the key shapes. You assign stitch types—satin stitches for borders and text, fill stitches for larger areas—and critically, you adjust the density and direction of those stitches to suit your target fabric. You add underlay stitches for stability and set the precise sewing sequence to minimize jumps.
The monumental advantage here is control. You can compensate for fabric pull, reinforce weak areas, and simplify complex details that won’t translate well to thread. When you export your final design, you save it directly as a VP3 file. This method guarantees a quality outcome because you’ve engineered the file for embroidery from the ground up, using your JPG only as a guide.
Method 2: Specialized Conversion Plugins and Tools
Some mid-range software packages or standalone tools offer a middle ground between full manual digitizing and fully automatic conversion. Programs like SewArt or certain modules within embroidery suites provide semi-automated functions.
In this approach, you still use a software interface, but it may offer an “image trace” function with adjustable settings. The key to maintaining quality is your active involvement after the trace. The software might create a basic vector outline from your JPG, but you must then go in and clean it up: delete stray points, smooth jagged lines, and assign appropriate stitch types and densities. It requires less initial drawing skill than full manual digitizing but still demands a good understanding of stitch properties to correct the software’s guesses. The final step is still saving or exporting to the VP3 format. This method can work well for simpler designs if you’re willing to do the post-trace cleanup work.
Method 3: Online Auto-Digitizing Services (The Cautious Route)
A quick web search will reveal websites that promise to convert your image to an embroidery file automatically. You upload a JPG, select VP3, pay a fee, and download a file.
The major caveat here is that quality is a gamble. These services use a one-size-fits-all algorithm. For a very simple, high-contrast, bold-lined graphic, it might produce a usable VP3 file. However, for any image with detail, shading, or subtlety, the algorithm will make poor choices—creating excessive stitch count, ignoring underlay, or using inefficient stitch paths. This almost always leads to a loss of quality in the stitch-out, manifesting as puckering, poor detail, or thread breaks. If you choose this route, it is absolutely essential to run a test stitch on scrap fabric. Consider it a draft, not a final product.
The Universal Pre-Conversion Step: Preparing Your JPG
No matter which method you choose, the quality of your final VP3 file is directly tied to the quality of your starting JPG. You must prepare your image.
Begin with the highest resolution version possible. A small, blurry, pixelated JPG has no quality to preserve. Open the image in a basic photo editor. Use the crop tool to remove any unnecessary background. Then, adjust the contrast and brightness to make the key elements “pop” and the edges as defined as possible. For complex images, consider simplifying colors or creating a more posterized version to serve as your digitizing guide. This prep work gives any software—whether a professional suite or an online converter—a much clearer blueprint to follow, dramatically improving your final VP3 result.
The Non-Negotiable Final Step: The Test Stitch
Your quest to preserve quality doesn’t end when you save the VP3 file. It ends after a successful test stitch. Hoop the same fabric and stabilizer you plan to use for the final project. Stitch out the design and carefully examine it.
Does it look crisp? Is the fabric puckering? Are there thread breaks or areas of poor coverage? This physical sample is your ultimate quality check. It will show you exactly what was lost—or preserved—in the translation from JPG to stitches. Be prepared to go back to your software, adjust densities, add underlay, or simplify elements based on what you see. This iterative process is the true secret to maintaining quality.
Conclusion: Quality is a Process, Not a Click
Successfully converting a JPG image to VP3 without losing quality is an active, engaged process. While automated tools offer speed, they often sacrifice the nuanced decisions that make embroidery look professional. The best method for preserving quality is to use professional digitizing software, which puts you in full control of the translation from pixels to stitches. If that’s not feasible, meticulous image preparation and an unwavering commitment to testing are your most powerful tools. By understanding that you are crafting stitch instructions, not just changing a file type, you set yourself up for success. Your patience and attention to detail in the digital realm will be rewarded with flawless, high-quality results in thread, every time you convert a JPG image to VP3.